Zephyrとは、Linux Foundationのプロジェクトの一つでもあり、RTOS(Real Time Operating System)の一つだ。
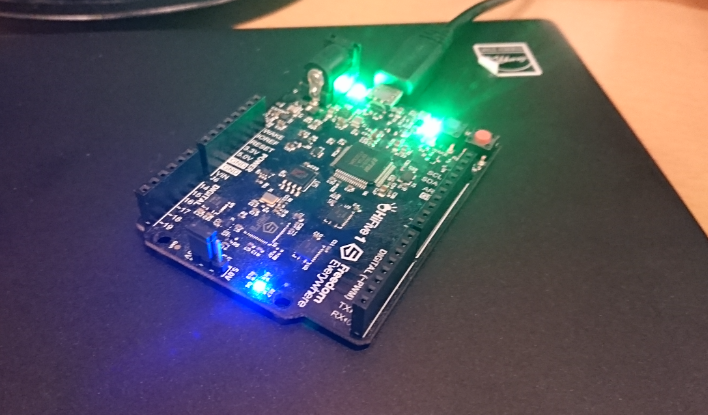
次は、SiFive社から販売されている32bit RISC-VボードHiFive1を使ってリアルタイムOSであるZephyrを動かしてみる。

参考にするのは、RISC-VのGetting Started GuideのZephyrの章(https://risc-v-getting-started-guide.readthedocs.io/en/latest/zephyr-hifive1.html#flashing)だ。 こちらの章に従って進めていくと、HiFive1ボードの上でZephyr OSを動作させ、アプリケーションを動かすことができる。
Philoshper問題のプログラムを動かす
次は、もう少し大きめのプログラムを動かしたい。サンプルプログラムの中で、今度はphilosopherを動かしてみることにした。
これは哲学者の食事問題のプログラムだ。うまく動くと、プロセス間でリソースの取得状況がリアルタイムに確認できる。
サンプルプログラムは、${ZEPHYR_BASE}/samples/philosopherを使用する。
まずは作業環境を整える。
mkdir build-philosopher
cd build-philosopher
cmake -DBOARD=hifive1 $ZEPHYR_BASE/samples/philosopher
make -j $(nproc)
cd ..
これでZephyrとアプリケーションのコンパイルができる。HiFive1にダウンロードして実行してみよう。
コンパイルしたプログラムをHiFive1にダウンロードするためには、Freedom-E-SDK環境を使用する。 まずは、HiFive1のコンフィグレーションを使用してopenocdを立ち上げ、HiFive1と接続してみる。
cd freedom-e-sdk
sudo openocd/bin/openocd -f bsp/sifive-hifive1/openocd.cfg
次に別のターミナルを開き、GDBを立ち上げる。
そして、ZephyrのバイナリをHiFive1に書き込んでみよう。
GDBを立ち上げた後、下記リストの先頭が(gdb)と記述されている行のみ入力していけばよい。
./freedom-e-sdk/riscv-gnu-toolchain/bin/riscv64-unknown-elf-gdb
(gdb) set remotetimeout 240
(gdb) target extended-remote localhost:3333
Remote debugging using localhost:3333
warning: No executable has been specified and target does not support
determining executable automatically.  Try using the "file" command.
0x20401244 in ?? ()
(gdb) monitor reset halt
JTAG tap: riscv.cpu tap/device found: 0x10e31913 (mfg: 0x489 (SiFive, Inc.), part: 0x0e31, ver: 0x1)
halted at 0x20401244 due to debug interrupt
(gdb) monitor flash protect 0 64 last off
cleared protection for sectors 64 through 255 on flash bank 0
(gdb) load /home/msyksphinz/work/riscv/zephyr/hifive1/build-philosopher/zephyr/zephyr.elf
Loading section vector, size 0x10 lma 0x20400000
Loading section exceptions, size 0x268 lma 0x20400010
Loading section text, size 0x3ac8 lma 0x20400278
Loading section sw_isr_table, size 0x200 lma 0x20403d40
Loading section devconfig, size 0x84 lma 0x20403f40
Loading section rodata, size 0x574 lma 0x20403fc4
Loading section datas, size 0xc4 lma 0x20404538
Loading section initlevel, size 0x84 lma 0x204045fc
Loading section _k_mutex_area, size 0x14 lma 0x20404680
Start address 0x20400000, load size 18068
Transfer rate: 8 KB/sec, 2007 bytes/write.
(gdb) monitor resume
halted at 0x20400004 due to step
ここまででエラーが生じなければ、Zephyrのアップロードは完了だ。 シリアルコンソールを立ち上げて動作を確認みる。
以下を入力する。
/dev/ttyUSB1の部分は、お使いの環境でHiFive1のシリアルコンソールが認識されているデバイスファイルに適宜書き換えること。
sudo picocom -b 115200 /dev/ttyUSB1
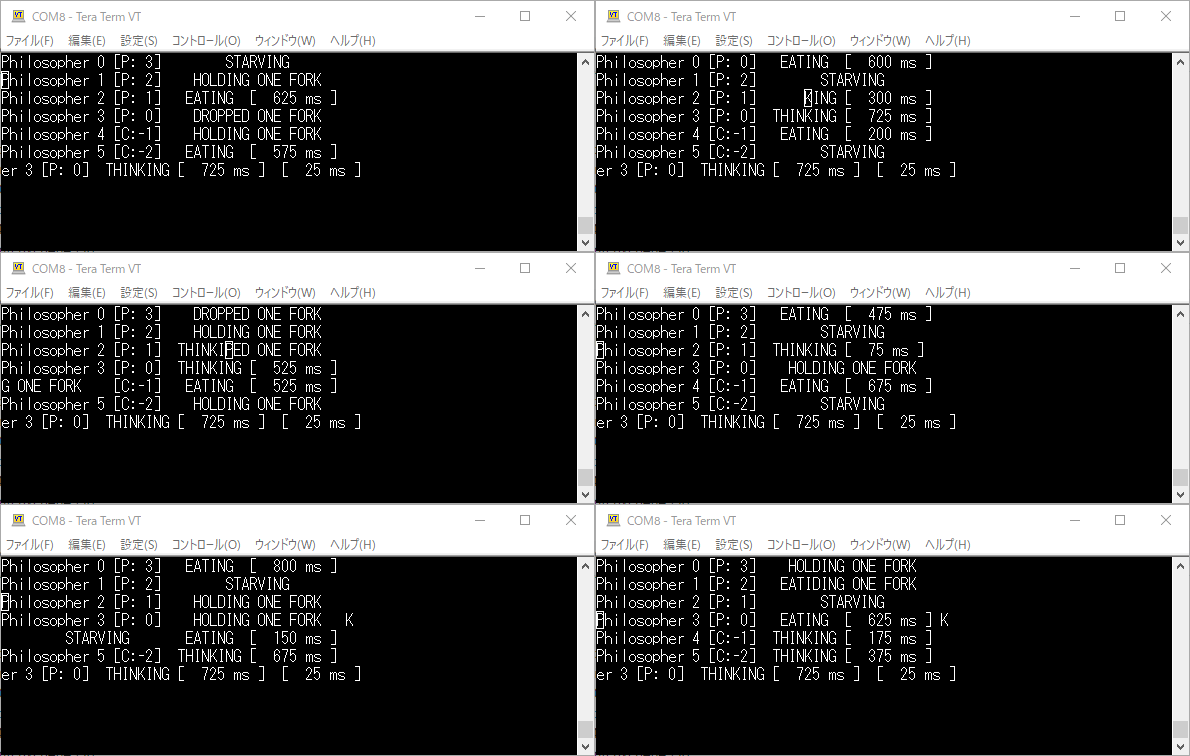
HiFive1のリセットボタンを押すと以下のように表示された。
上手く動いたようだ。
