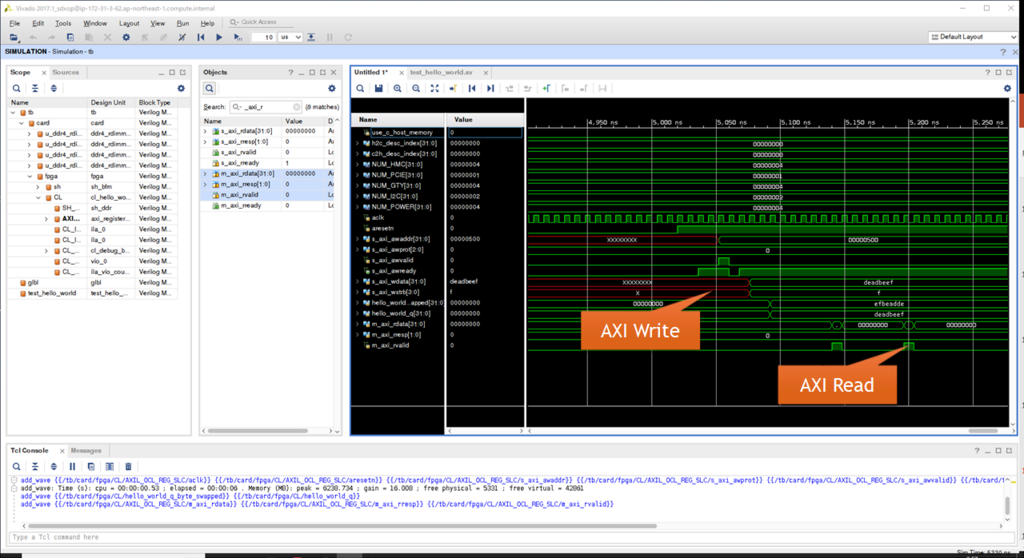
cl_hello_world の勉強の続き。
波形を解析する方法がやっと分かった。過去の資料を参照して、波形が取得できるようになった。
diff --git a/hdk/cl/examples/cl_hello_world/verif/scripts/Makefile.vivado b/hdk/cl/examples/cl_hello_world/verif/scripts/Makefile.vivado
index 5475a20..5a39fe5 100644
--- a/hdk/cl/examples/cl_hello_world/verif/scripts/Makefile.vivado
+++ b/hdk/cl/examples/cl_hello_world/verif/scripts/Makefile.vivado
@@ -34,6 +34,6 @@ run:
 ifeq ($(TEST),test_null)
        cd $(SIM_DIR) && xsim -R -log $(C_TEST).log -tclbatch $(SCRIPTS_DIR)/waves.tcl tb
 else
-       cd $(SIM_DIR) && xsim -R -log $(TEST).log -tclbatch $(SCRIPTS_DIR)/waves.tcl tb
+       cd $(SIM_DIR) && xsim -R -log $(TEST).log -g -tclbatch $(SCRIPTS_DIR)/waves.tcl tb
 endif

diff --git a/hdk/cl/examples/cl_hello_world/verif/scripts/waves.tcl b/hdk/cl/examples/cl_hello_world/verif/scripts/waves.tcl
index 4b14d0d..706639e 100644
--- a/hdk/cl/examples/cl_hello_world/verif/scripts/waves.tcl
+++ b/hdk/cl/examples/cl_hello_world/verif/scripts/waves.tcl
@@ -24,4 +24,4 @@ if { [string length $curr_wave] == 0 } {
 }

 run 200 us
-quit
+# quit
make TEST=test_hello_world を実行するとVivado Simulatorが立ち上がった。
まずはVivadoのGUIが立ち上がった。
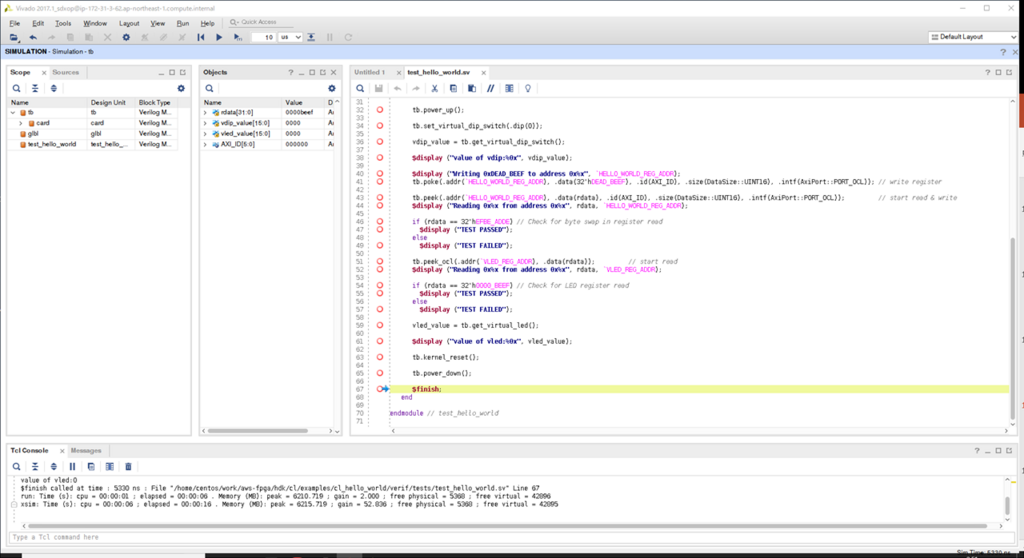
波形を表示するために、"Untitled 1" のタブに切り替える。
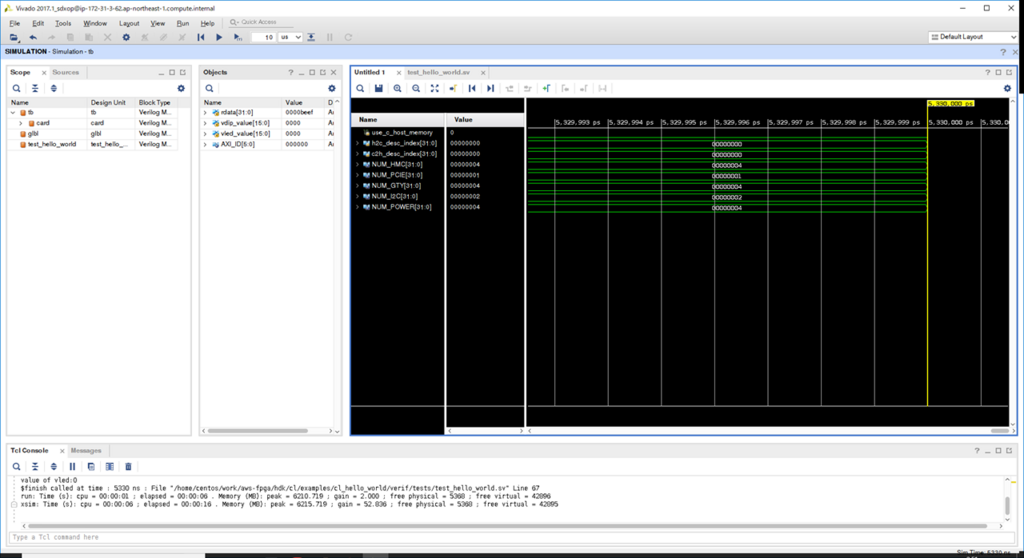
波形をトレースするために、"CL"階層から下の波形をすべてダンプするように設定する。
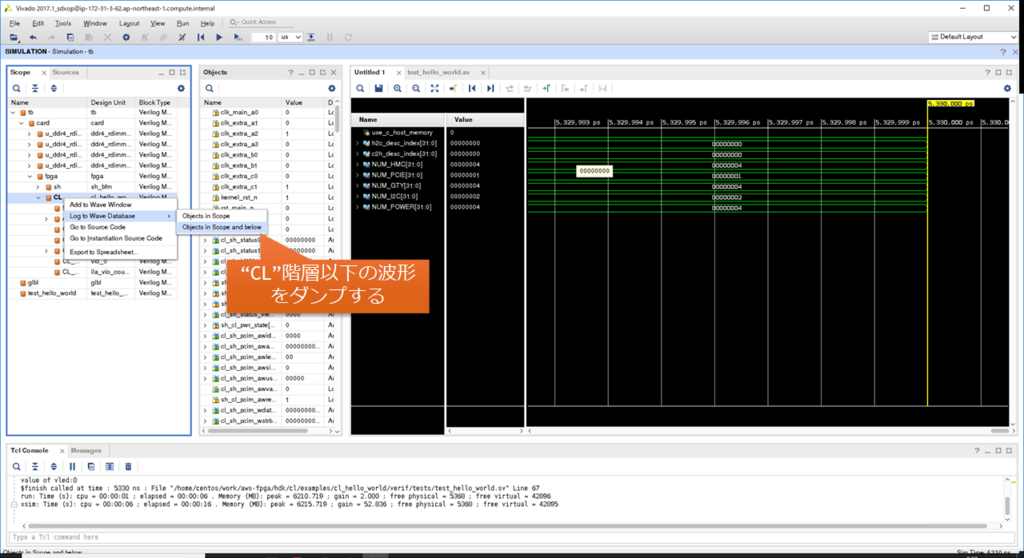
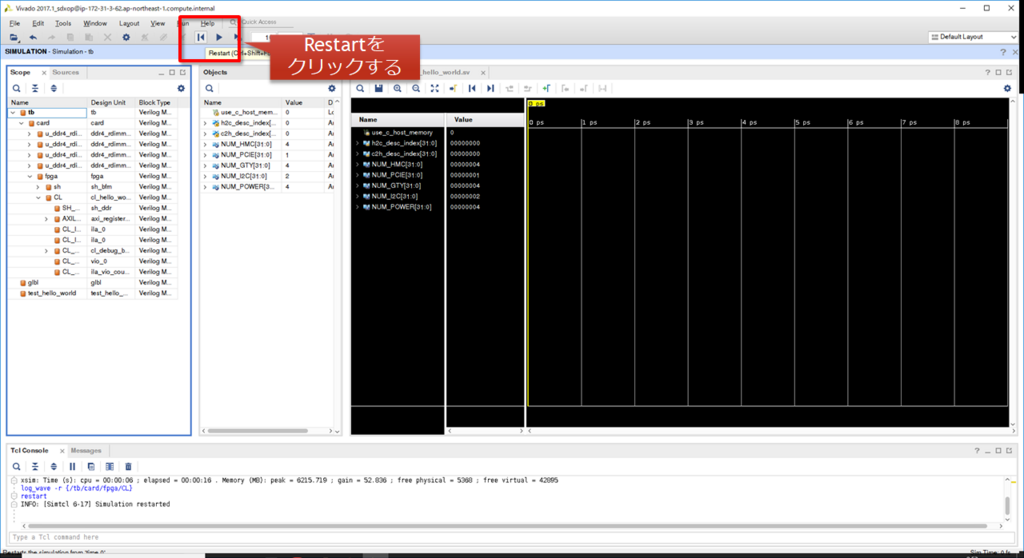
シミュレーションをやり直して、波形を取り直す。"Restart"ボタンをクリックする。
シミュレーションを実行する。"Run All" をクリックする。
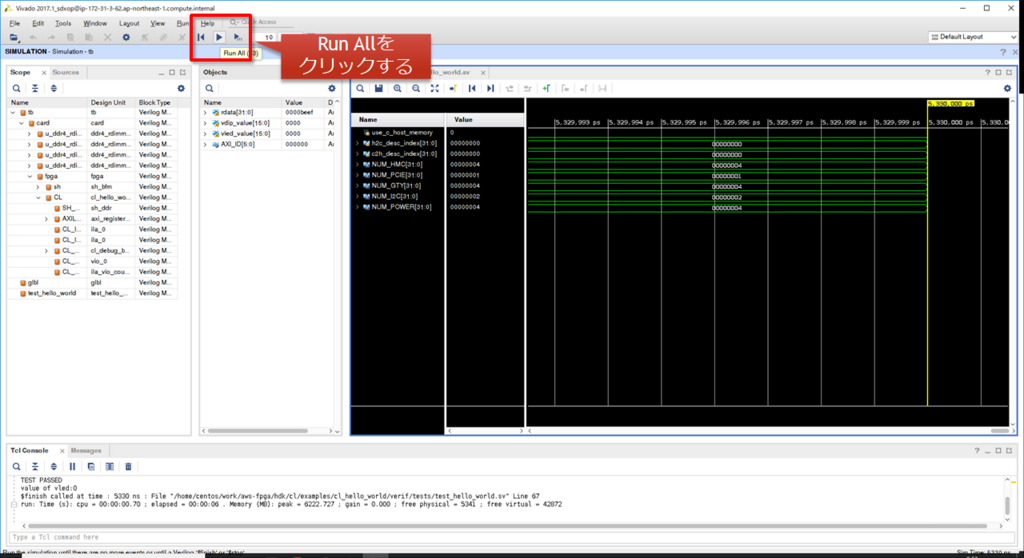
波形を取得できたので拡大してみた。AXIのRead/Writeの動作が確認できた。"deadbeef"が書き込まれている。
