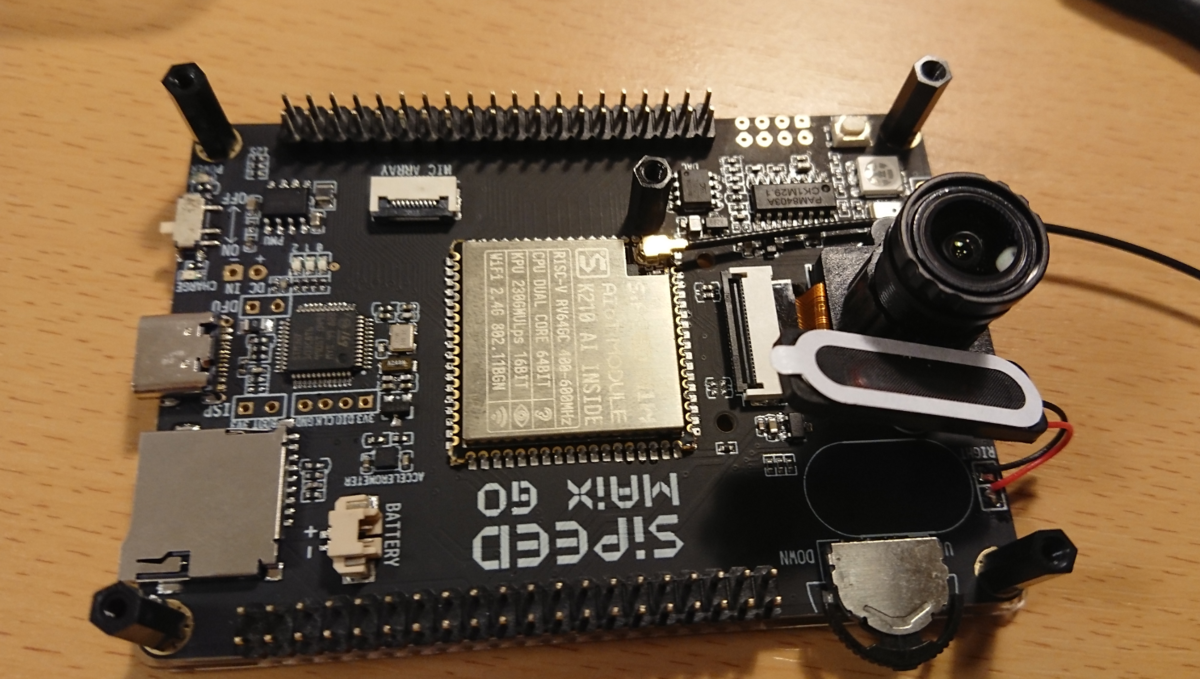
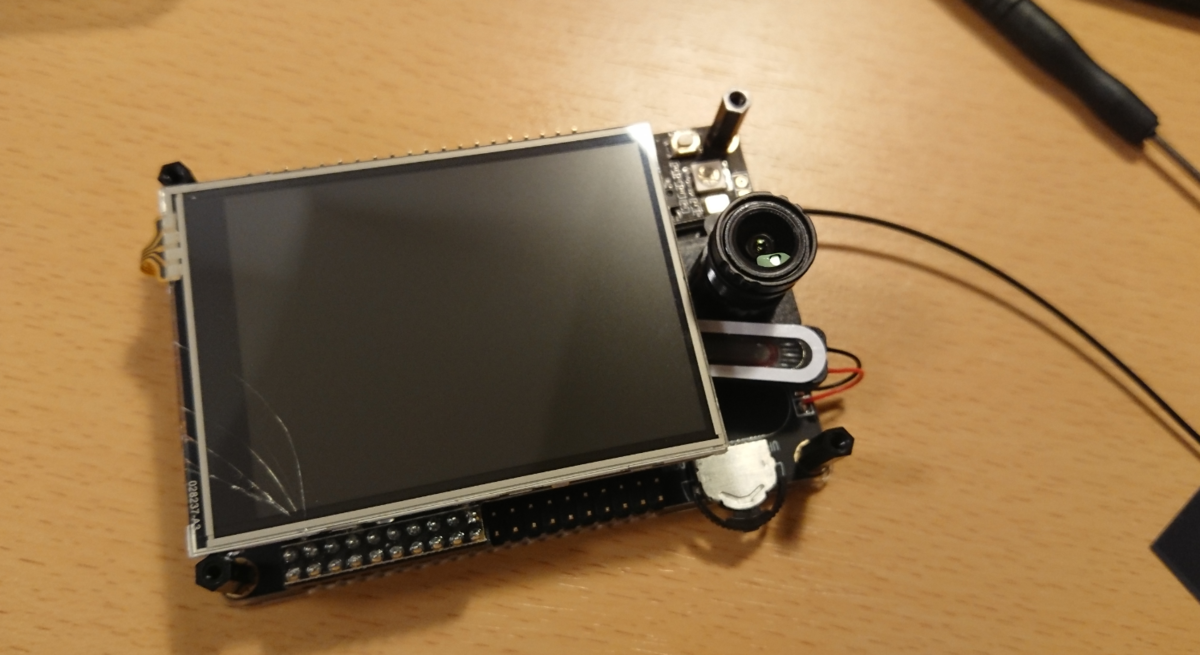
Sipeed Maix GOはRISC-Vコアの搭載された小型ボードだ。
このボードのスペックについては、上記のページをそのまま引用すると、
In hardware, MAIX have powerful KPU K210 inside, it offers many excited features:
- 1st competitive RISC-V chip, also 1st competitive AI chip, newly release in Sep. 2018
- 28nm process, dual-core RISC-V 64bit IMAFDC, on-chip huge 8MB high-speed SRAM (not for XMR :D), 400MHz frequency (able to 800MHz)
- KPU (Neural Network Processor) inside, 64 KPU which is 576bit width, support convolution kernels, any form of activation function.
- It offers 0.25TOPS@0.3W,400MHz, when overclock to 800MHz, it offers 0.5TOPS. It means you can do object recognition 60fps@VGA
- APU (Audio Processor) inside, support 8mics, up to 192KHz sample rate, hardcore FFT unit inside, easy to make a Mic Array (MAIX offer it too)
- Flexible FPIOA (Field Programmable IO Array), you can map 255 functions to all 48 GPIOs on the chip
- DVP camera and MCU LCD interface, you can connect an DVP camera, run your algorithm, and display on LCD
- Many other accelerators and peripherals: AES Accelerator, SHA256 Accelerator, FFT Accelerator (not APU's one), OTP, UART, WDT, IIC, SPI, I2S, TIMER, RTC, PWM, etc.
- MAix's Module
- Inherit the advantage of K210's small footprint,
- Sipeed MAIX-I module, or called M1, integrate K210, 3-channel DC-DC power, 8MB/16MB/128MB Flash (M1w module add wifi chip esp8285 on it) into Square Inch Module. All usable IO breaks out as 1.27mm(50mil) pins, and pin's voltage is selectable from 3.3V and 1.8V.
という訳で、コア自体は400MHzで動作するRISC-Vコアを積んでいる。
このボードは結構昔に買ってみたものの、組み立て方や使い方のマニュアルがほとんど無くて困っていたのだが、どうも調べると以下のYoutubeチャンネルが組み立て方について詳しかったので参考にして組み立てた。
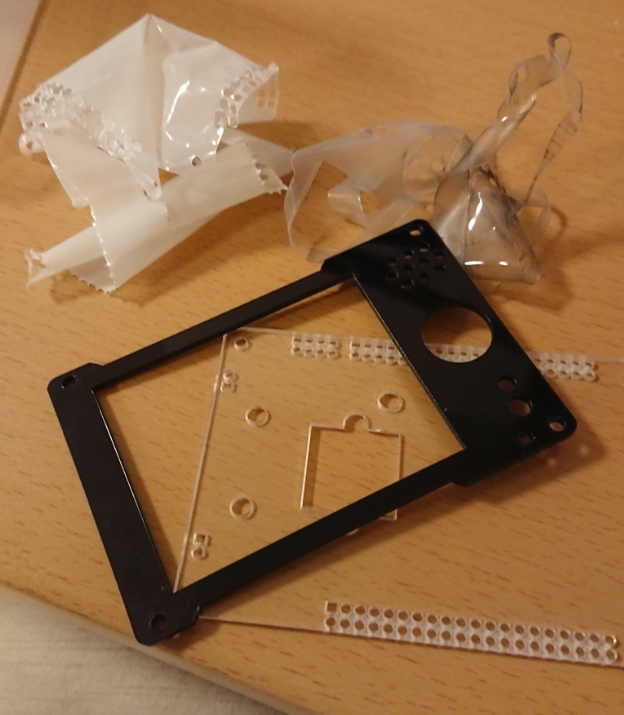
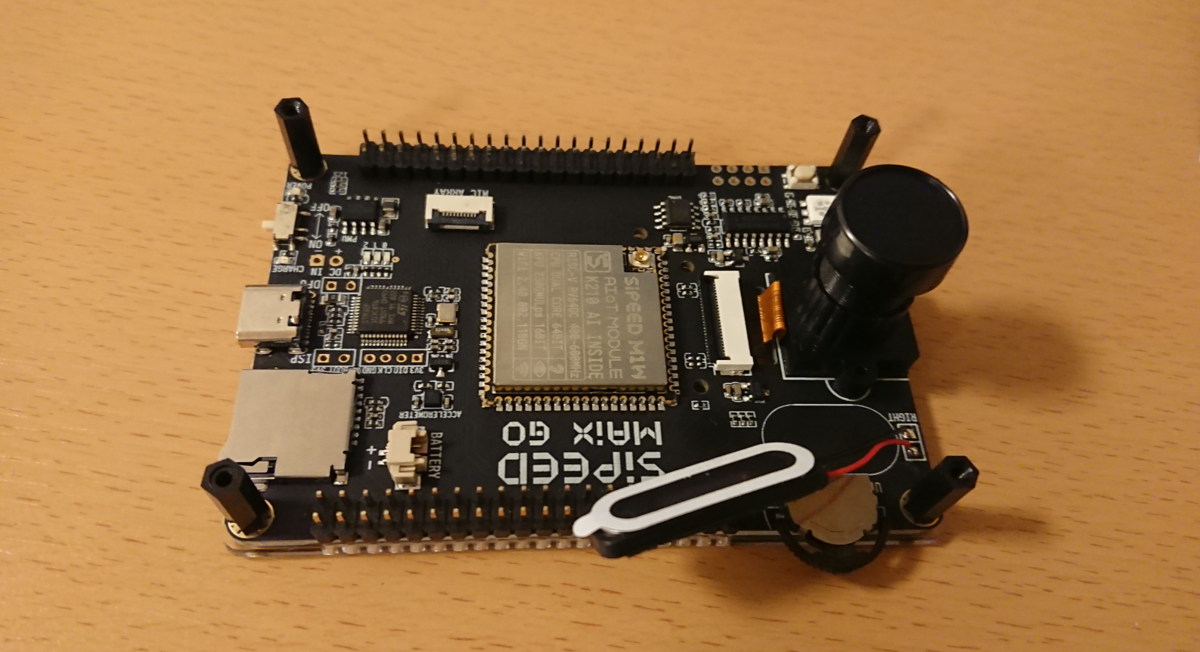
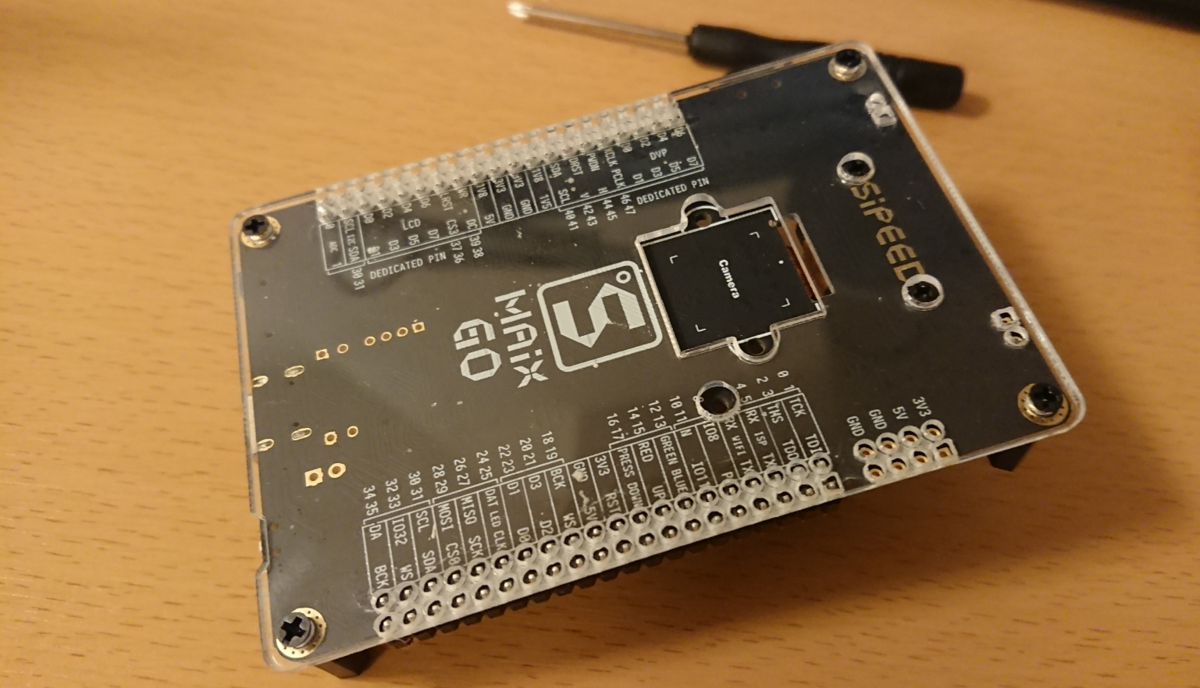
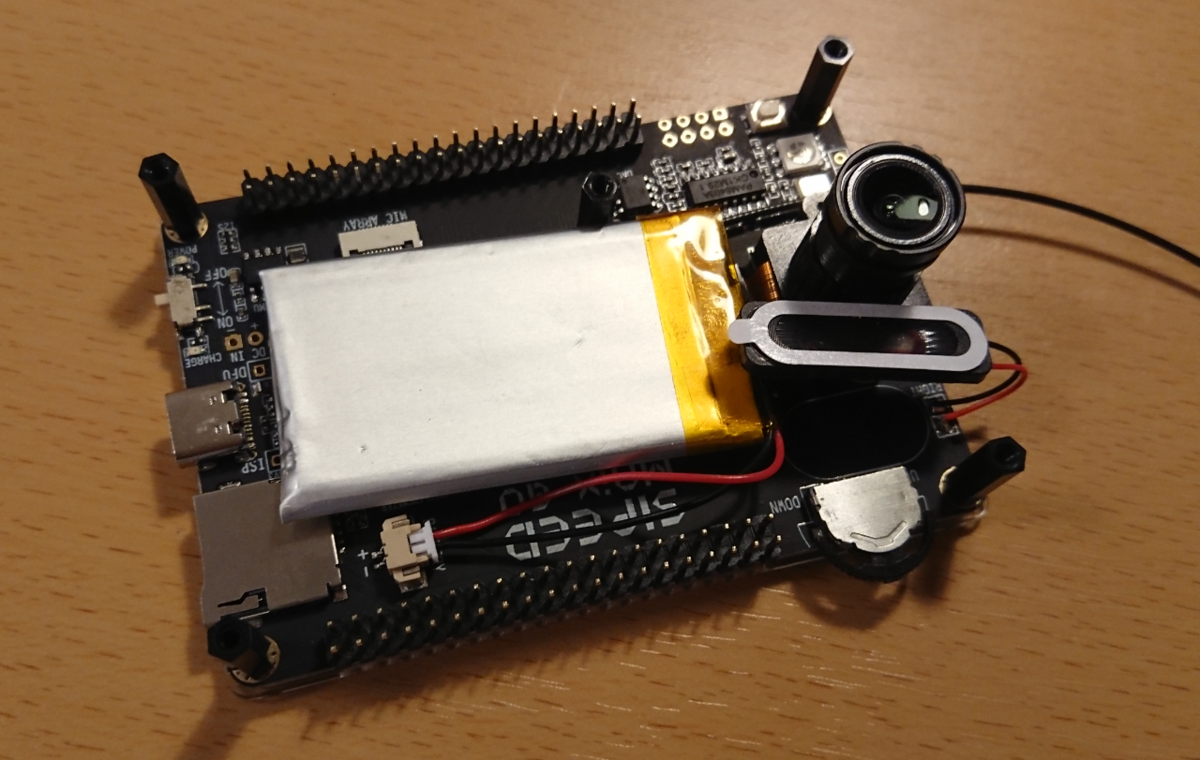
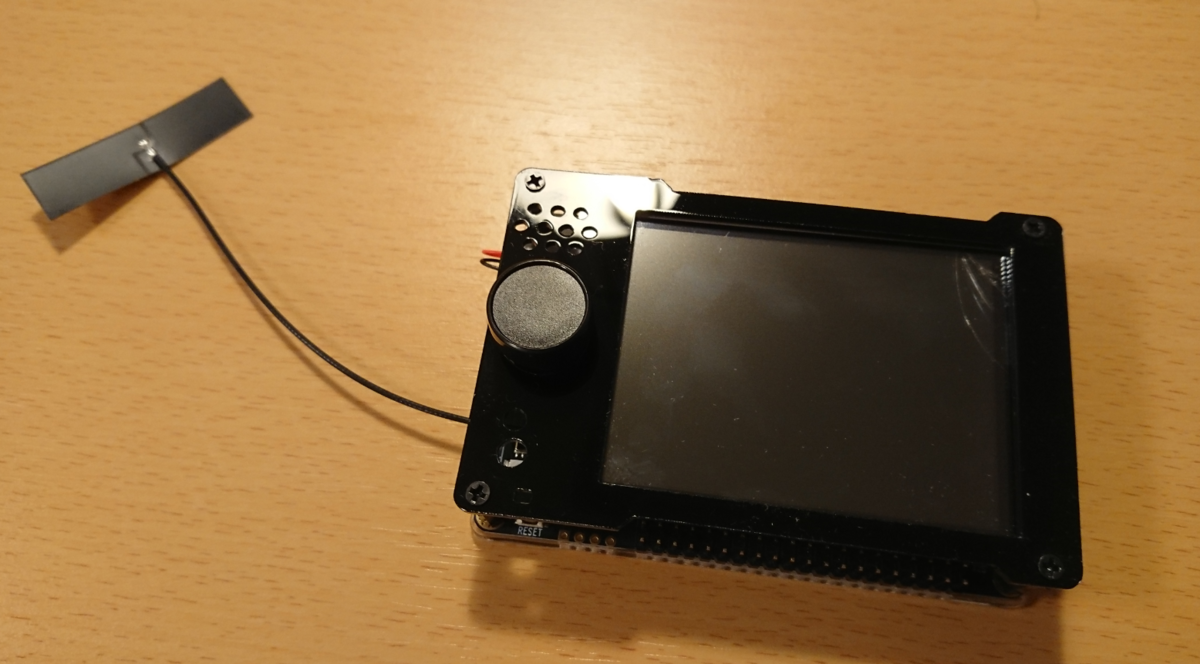
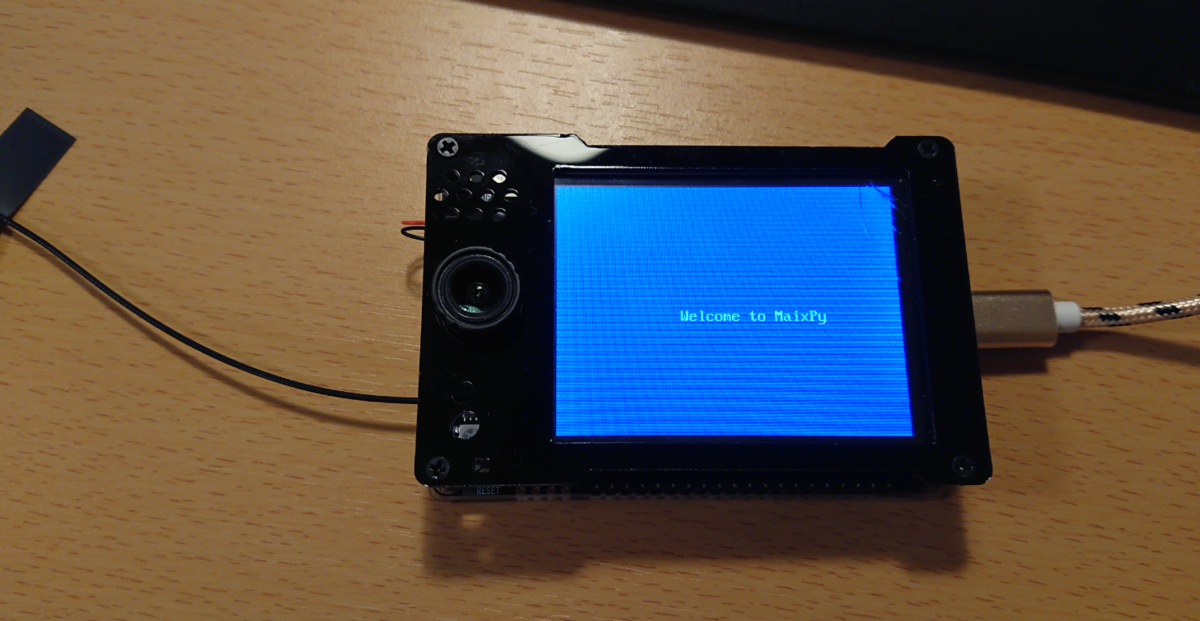
写真を撮りながら組み立てた。Youtuberみたいだ。
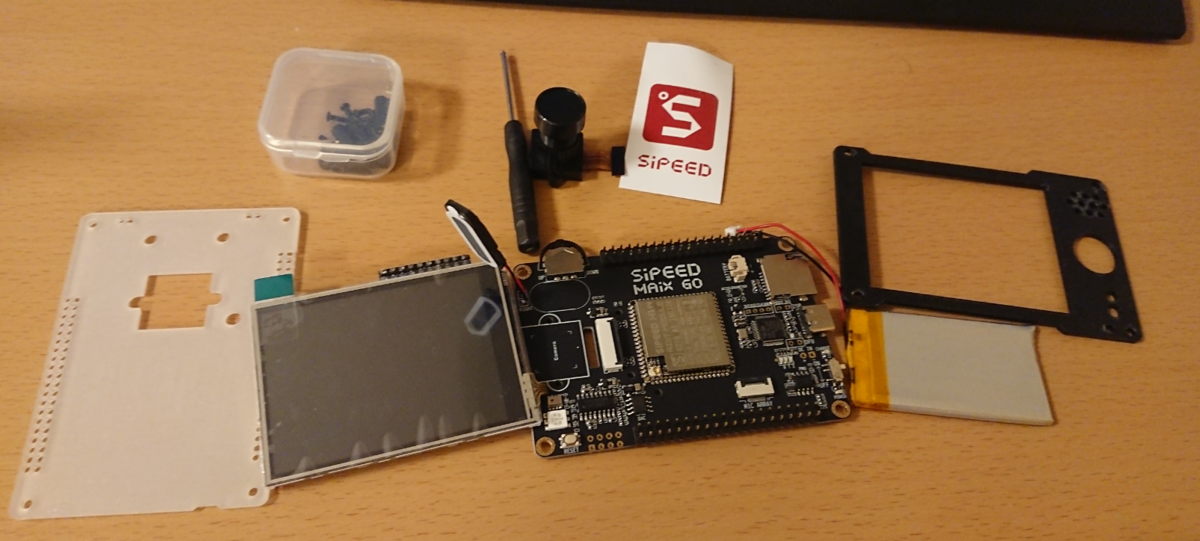
- 内容物一式。
